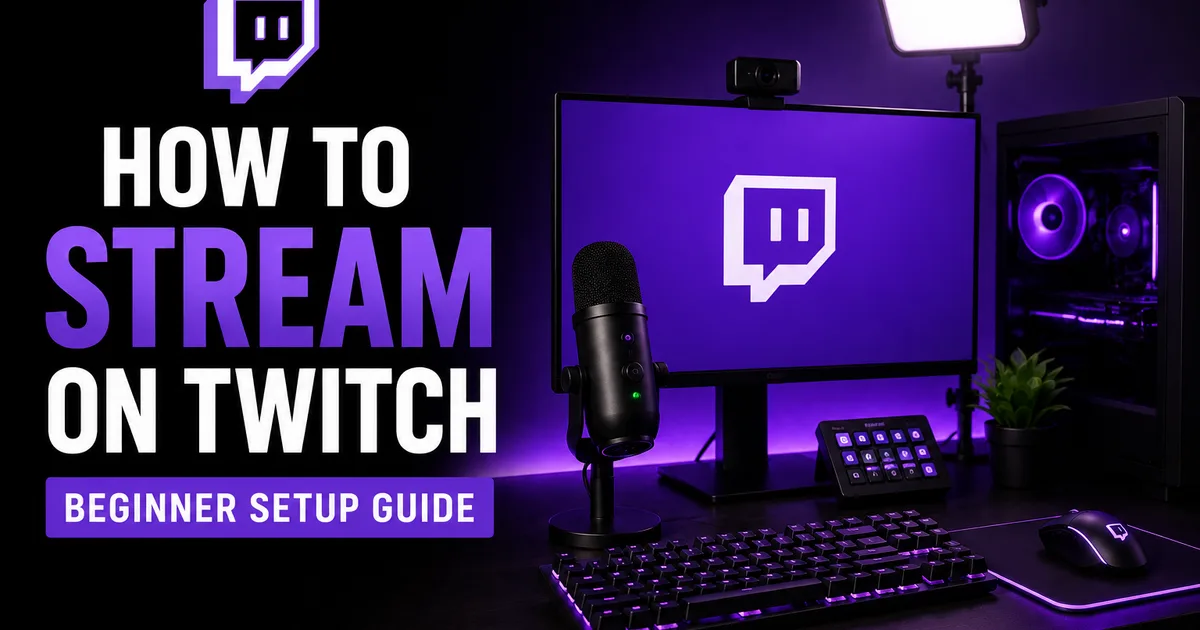
The first broadcast on Twitch tends to feel more daunting than it really is. There is no need for a costly rig or a studio; the job asks for a channel, broadcasting software, sound that holds up, and a connection that stays steady. Everything past that is polish you add once the basics are set.
The guide below takes the setup one plain step at a time, from the channel itself to the button that sends you live. The goal is modest on purpose: a tidy stream that is easy to watch and easy to build on, not a flawless production on day one.
Create and secure your Twitch channel
Begin with the account, and lock it down as you go. Verify your email, attach a phone number, and switch on two-factor authentication — that keeps your channel out of the wrong hands, and a few features won't turn on without it. Pick a username you can live with, since it becomes the name your channel is known by.
With that handled, fill out the surface details. A recognizable avatar, a short description, and a few panels that lay out who you are and what you broadcast all help the page read as legitimate to anyone who visits, before a stream or after one.
- Register the account and verify both your email and phone
- Turn on two-factor authentication to keep it secure
- Set an avatar, a banner, and a short line about the channel
- Populate the core panels — your schedule, your gear, and a note on who you are
Pick and set up your broadcasting software
Twitch will not send anything out on its own; the broadcasting is handled by software that grabs your screen, your game, and your camera and pushes it all to the platform. Among the free choices, OBS Studio and Streamlabs come up most, and many recent graphics cards and consoles carry built-in streaming tools that work well for a first attempt.
Hook the software up to Twitch by signing in through the app or by copying a stream key from your dashboard. Choose a resolution and bitrate that suit your internet — many newcomers get on fine at 720p or 1080p — and load your game capture and camera in as sources before you go near the live button.
- Start with free software such as OBS Studio or Streamlabs
- Sign in with your account or paste in your Twitch stream key
- Fit the resolution and bitrate to the upload speed you have
- Load your game capture, camera, and any overlays in as sources
Sort out your sound and your connection
Sound is the piece beginners shrug off, yet it counts for more than how sharp the picture looks. People will overlook an ordinary webcam, but they click away from audio that is tinny, faint, or full of echo. Even a cheap standalone microphone is a real step up from the mic in most laptops.
The other must-have is a connection that holds. A broadcast pushes a constant flow of video the whole time it runs, so where you can, a wired Ethernet link beats Wi-Fi for dependability. Run a quick private test first to confirm your levels sit right and the video is not stuttering.
- Put clean sound ahead of a sharp camera
- Reach for a dedicated microphone where you can, even a cheap one
- Favor a wired Ethernet link over Wi-Fi for steadiness
- Do a private test run to check your levels and playback
A checklist for your opening broadcast
Before you press go live, set the pieces that help viewers find you and grasp what they are watching. Land on the category that fits, give the stream a plain, specific title, and tag it with a few relevant terms. That trio decides your spot in the browse directory, plus whether a casual viewer clicks in.
After that, the advice is simply to stream. Narrate what you are up to even with an empty room — talking as you go is a habit worth forming early, and it makes the broadcast far easier to watch the instant somebody wanders in. Treat those first sessions as rehearsal while it starts to feel natural.
- Choose a category that fits and a title that is clear and specific
- Tag the stream so the people it suits can actually find it
- Narrate your play, even when the chat is empty
- Say hello to whoever turns up and hold a steady tone
Once you are live: growing an audience
When going live no longer rattles you, the work turns toward growth — a slower game built on consistency, clips, and community far more than on equipment. A dependable schedule, paired with short clips shared on other platforms, is the surest way to steer fresh viewers toward a channel still finding its feet.
In the early days a channel looks awfully quiet, and a thin follower count can make a first-time visitor think twice about staying. A follower base that is visibly there offers a bit of social proof, giving a young channel the air of something more established. If you lean on a boost for that, Social WOW supplies Twitch viewers and followers drawn from real activity, working only from your public channel link with no password involved — best used alongside consistent streaming, never in place of it.